From the freshly installed package to the model working on site: each step, with what you have to do and what you should see. Then, ways to use it, accuracy tips and what to do if something does not work.
1 · Install
On the computer
You need Rhino 8 for Windows (8.35 or newer). The plug-in comes in a .yak package that includes the server. When you join the beta, the download link arrives by email.
Close Rhino.
Open a cmd window and install the package: "C:\Program Files\Rhino 8\System\Yak.exe" install "path\e-space-….yak" (dragging the file onto Rhino does not work).
Open Rhino: the Es… commands appear and, in Grasshopper, the E-SPACE tab.
The first time it connects, Windows asks whether to allow the server network access: choose allow on private networks. Without it, the phone and the Quest cannot connect.
On the Meta Quest 3
The app is installed from the Quest library (today through a private Meta testing channel: we invite you with your account). When you open it, it asks for camera permission, to read QR codes, and for hand tracking.
On the phone
You install the APK and allow “install apps from this source”. More details on the phone page.
2 · Prepare the model
Work in meters or let the plug-in convert the document units: everything travels in meters with the Z axis up.
To see Grasshopper geometry, connect it to a Sync Geometry (below). Ordinary Rhino objects travel by themselves with the connection.
The Rhino layers appear in the viewer and can be switched on or off from there.
If your definition uses Breps, convert them to meshes before the Sync: recalculation is faster and the model arrives sooner.
3 · QR markers (to anchor with QR)
If you are going to place the model with QR codes, prepare them before going to the site:
Place them in RhinoWith EsMarker you mark the corner of each QR (typing coordinates or with a click) and give it a name (ES-01, ES-02…). Think about where you will stick them on the real site.
See where it is accurateWith EsPrecision you see a color map of the model: blue is accurate, green acceptable and red has drift. Add markers where needed.
Print themEsMarkerPrint builds the A4 sheet with the QR codes. Print at real size (150 mm per side is recommended).
Stick them on siteOn the same points in the real place, well measured (tape measure or laser). The more exact they are, the more exact the model.
How many and where. With one QR you get position but the rotation is not corrected; with two or more the model is oriented and at 1:1. To ask for ±1 to 2 cm, one QR every 1.5 to 2 m on the wall itself.
4 · Open the session in Rhino
Open your Rhino file.
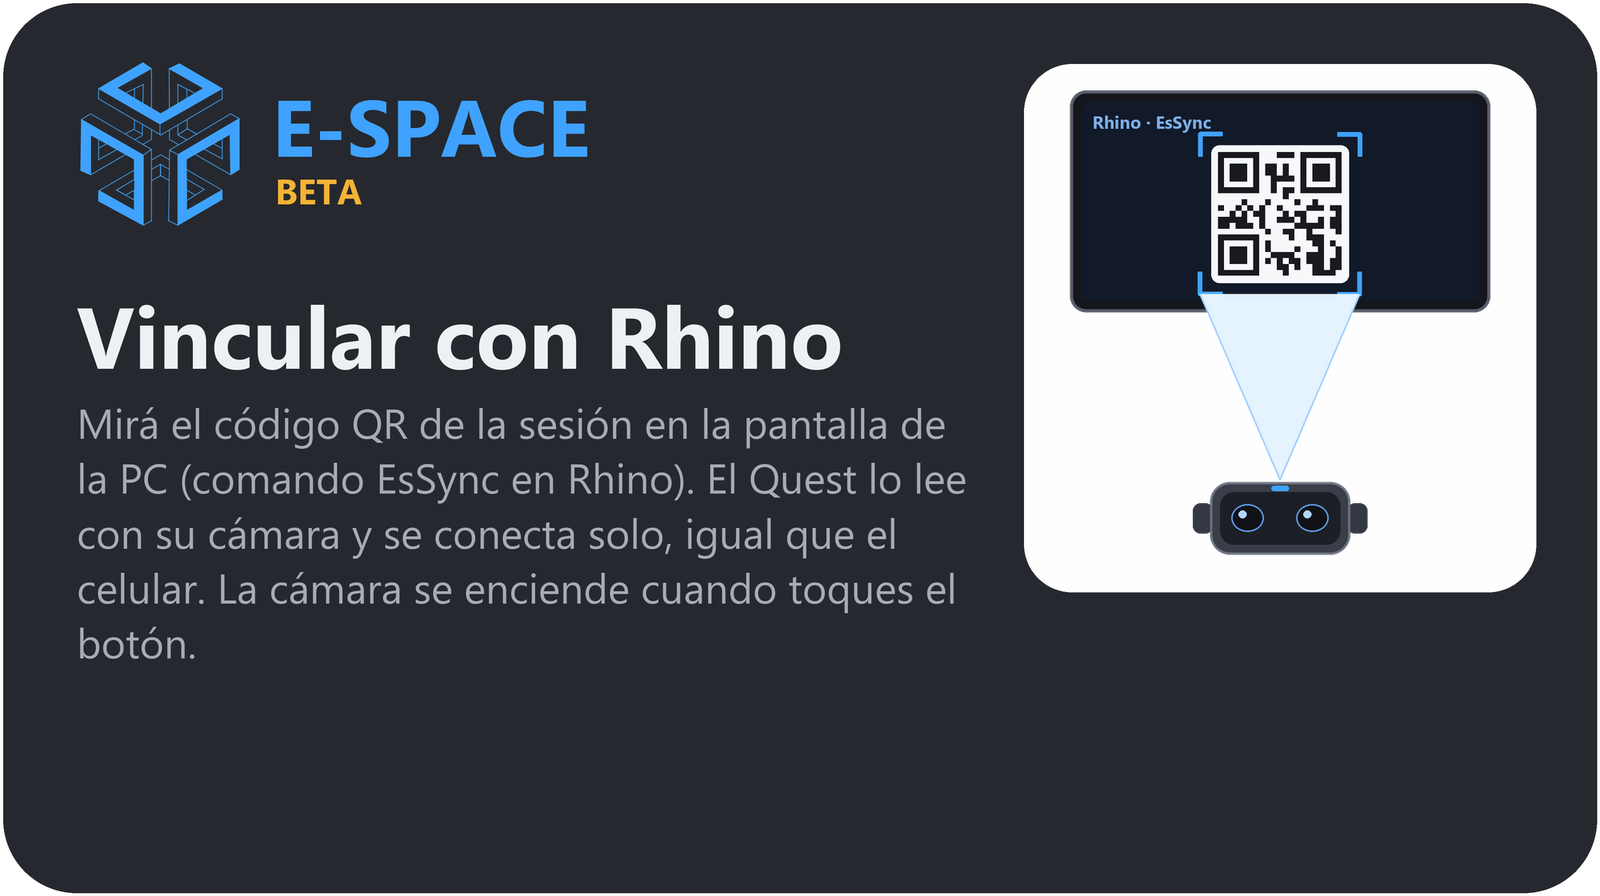
Run EsSync. Rhino opens the session, starts the server by itself and shows a page with the session QR code. Keep it visible on the screen.
With EsPanel you can see the status and the viewers that connect.
5 · Link the viewer
With the Meta Quest 3
Open E-SPACEIt greets you with an animation (“Reading your space… Transforming your space…”) that ends with the logo and the welcome. It cannot be skipped; it lasts about 6 seconds.
The tutorial“See tutorial” shows you in 6 steps how to grab, push away and pull closer, scale and rotate, and how to open the menu, with animated hands. You can also tap “Skip”.
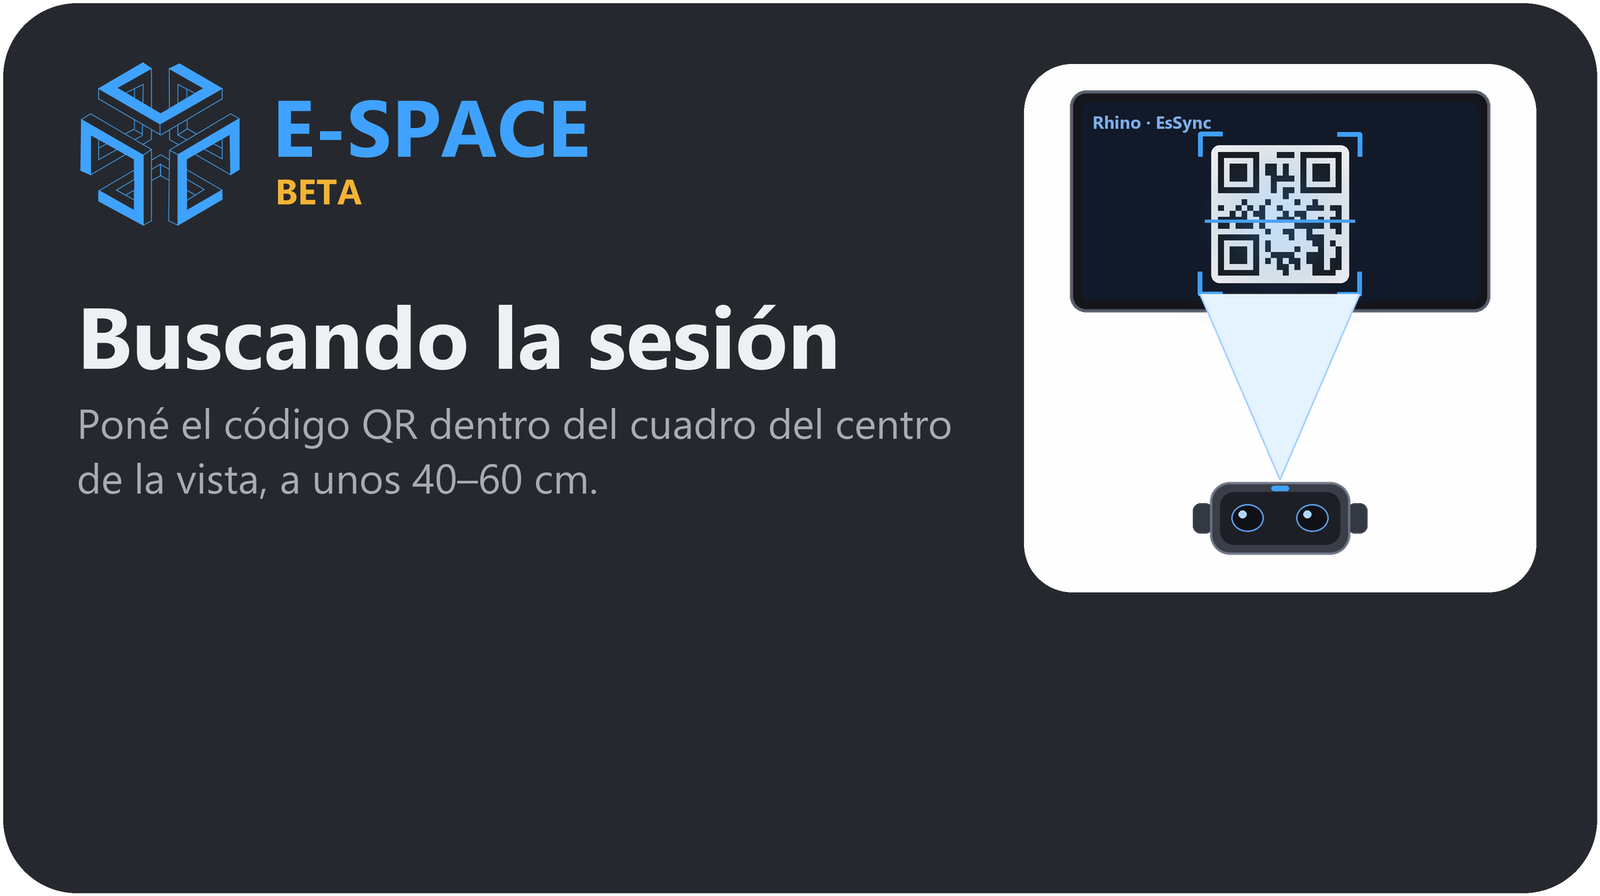
Tap “Link”The camera turns on. Put the session QR inside the box at the center of your view, about 40–60 cm away.
WaitIt goes through “Connecting” and “Connected”; if Rhino does not yet have the file open with E-SPACE, it says it is waiting for it.
Choose how to place it“How do you want to place the model?” appears with three options and a mini tutorial for the one you choose.
Link with Rhino.Searching for the session: the QR inside the box at the center.
With the phone
Open the app, point the camera at the session QR and wait for the connection. If you cannot scan, type the code by hand.
6 · Place the model
With QR (the most accurate)
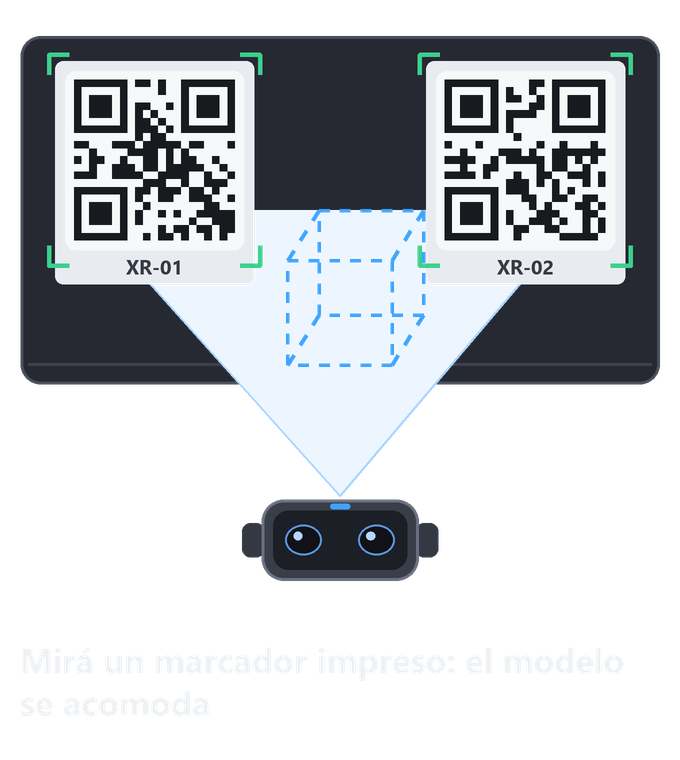
Approach a printed marker and look at it from about 40–60 cm, holding still: the model settles into place.
Add more markers (two or more): the model is oriented and stays at 1:1.
Walk around the place: when you see other QR codes, the position is corrected. If the app says “Move your head more slowly”, go slower.
In the menu, Anchoring tab, look at the error and the confidence indicator (green, amber, red). When you are happy, tap Fix so it stops being corrected.
You look at a printed marker and the model settles.
By hand (points)
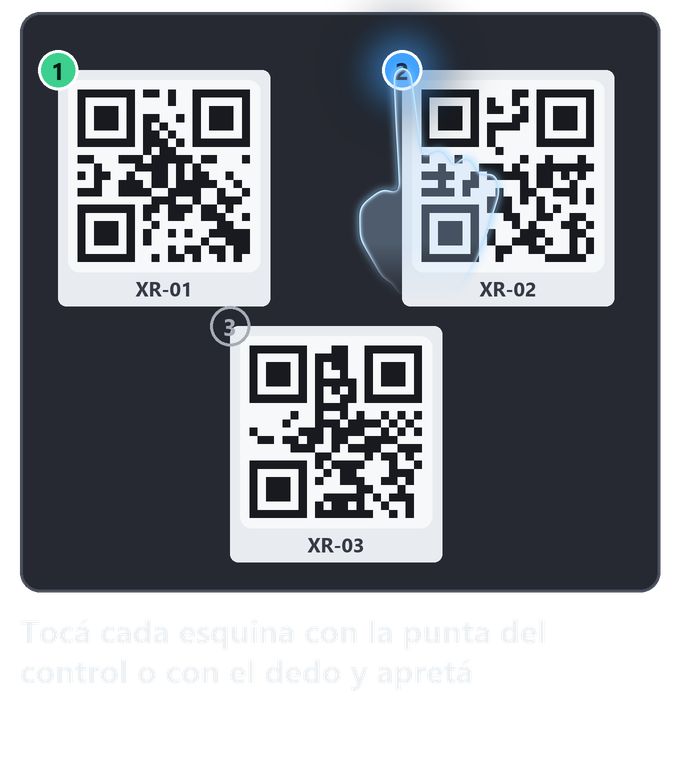
No need to scan: with the controller tip or your index fingertip, tap the real corner of each marker (the app tells you which one is next) and squeeze the trigger or pinch.
To correct a point, grab it and drag it.
With all of them placed, the model is anchored and fixed. The app shows the approximate error.
You tap each corner with the controller tip or your finger.
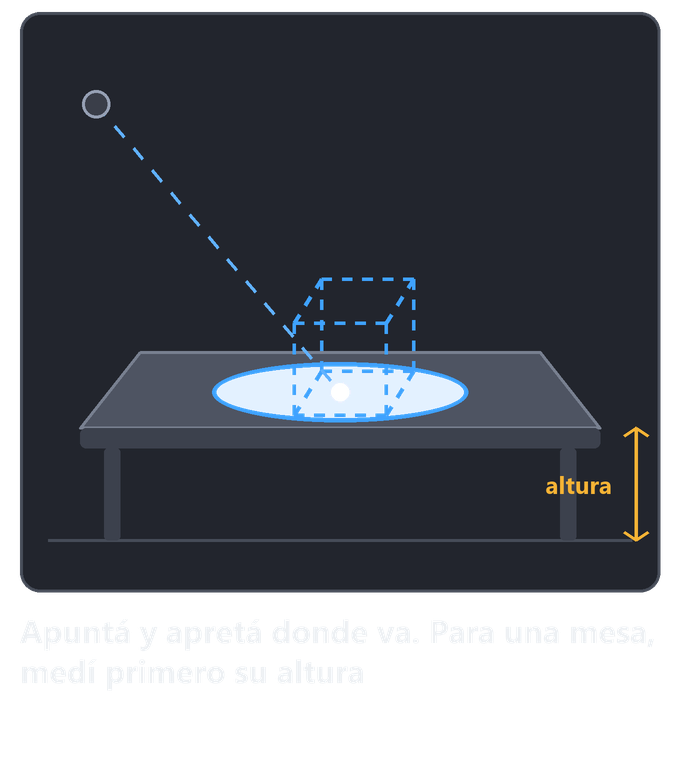
On the floor or a table
Choose Floor or Table in the menu (Anchoring → Floor / table).
For a table: “Measure the table height” and rest the controller tip or your finger on it.
Close the menu, point at the surface and squeeze where the model goes: the blue circle shows where it lands.
Rotate in 15° steps. Choose the scale (for example 1:10 for a scale model). To move it as a whole later, tap Reposition.
You point and squeeze where the model goes.
7 · Work with the pieces
Point at a piece and grab it with the trigger or a pinch (on the phone, tap it). Only the pieces Grasshopper allows to move can be moved.
Move
It goes with your hand.
Push away and pull closer
You stretch or bend your arm; if you keep it stretched it keeps moving away. Bring your hand back to where you grabbed and it stops.
Scale
Two hands in line: apart or together.
Rotate
Two hands: one passes beside the other.
If you hold still for a moment while grabbing with both hands, you can choose another gesture without letting go; if you get it wrong, bring your hands back and it undoes.
To return everything to how Grasshopper calculates it: menu → Session → Reset all (asks to confirm).
What you move reaches Rhino and the other viewers. With EsInteract ordinary Rhino objects can also be moved.
8 · The menu
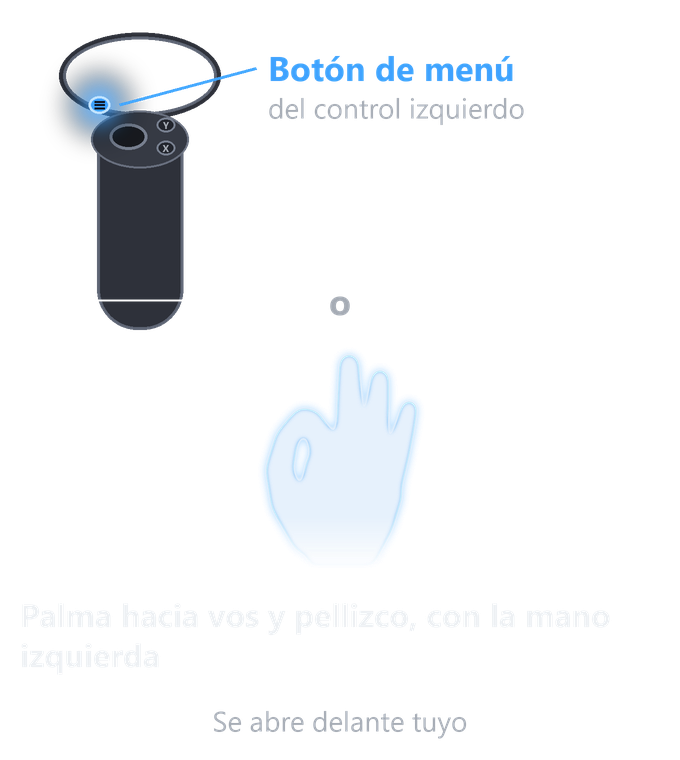
On the Quest, open it with the ≡ button on the left controller or with the palm of your left hand facing you (half a second). It follows you and closes by itself if you stop looking at it. Six tabs:
View: Realistic, Shaded, Wireframe or Edges. The last two show only the outline and let you see the real thing behind: they are your ally when the model blocks what is in front of you.
Param: sliders with ‹ › arrows, tappable number with keypad, toggles, lists and buttons from your definition.
Scale: from 1:1 to 1:100 (with QR or points by hand, always 1:1).
Session: data, Reset all, Unlink and Close.
Palm facing you and a pinch, with the left hand.
9 · From Grasshopper
Connect the geometryPlace a Sync Geometry (E-SPACE tab) and connect the geometry (meshes, curves, texts). Choose a material and a layer.
Choose what can be doneIn Interaction check Move, Rotate and/or Scale. With nothing checked, the piece stays fixed (normal for closed walls and installations).
Enable parametersTurn on the E-SPACE square next to the sliders, toggles and lists you want to touch from the viewer. They appear in the Param tab.
Show one course at a timeA classic: Slider → List Item → Sync Geometry; with the viewer's ‹ › arrows you step from one to the next.
Number the piecesWith Text Dot or Text Entity in the geometry, every piece carries its visible code.
Listen to the viewerWith the Get components and the events (On Tap, On Hover) your definition reacts to what the viewer user sees and touches.
If something does not update: run EsSend to resend the whole scene.
Ways to use it
Setting out a parametric wall
You anchor the model with QR on the real wall and check piece by piece that the position and tilt match the design, using the Edges view so you do not lose sight of the real thing.
Art installations
Closed walls and fixed pieces with exact positions: you show the model at 1:1 in the room, change the definition's parameters on site and decide before producing.
A scale model on a table
No markers: you rest the model on the table at 1:10 or 1:50, rotate it and look at it from all sides, ideal for classes and presentations.
Client review
One person runs the session from Rhino and others join with a phone or the Quest: everyone sees the same model, with the same layers and views.
Building with a worker
Whoever builds uses the Quest hands free; whoever supervises watches from the phone or in Rhino, where each user is seen with their field of view.
Testing a definition
With the web viewer on the PC you check that the definition syncs and the parameters respond, before heading out.
Accuracy tips
Look at QR codes up close, at 40–60 cm; a 150 mm QR is not read well beyond 3–4 m.
More QR codes, better. With two or more the model is oriented; with three or more, the local error goes down because the three closest are used.
Place them carefully: the model is only as exact as the real position of the QR codes.
Look at a QR again now and then if you walk a lot: the headset's tracking drifts with the path (about 1 %).
Use the confidence indicator: when it is amber or red, look at a QR to correct.
Do not read while moving: stop, look at the QR for a moment and go on.
With Fix the anchoring stops being corrected even if you see another QR: use it once you are happy.
Remember: the maps and indicators are an accuracy model, not a measurement. Check against a measured reference.
Troubleshooting
What happens
What to try
The viewer does not connect
That the PC and the viewer are on the same Wi-Fi network. That Windows allowed the server on private networks (firewall). That Rhino is still connected (EsPanel). If the viewer says “No connection · address”, that is the address it is trying.
The Quest does not read the session QR
That you tapped “Link” (the camera does not turn on before). Bring it to 40–60 cm, with no reflections and with the screen at high brightness. If a marker is in view, it still reads the session QR.
“Waiting for Rhino…”
The session is ready, but in Rhino the file is not open with E-SPACE connected. Run EsSync.
The model does not appear
That geometry is connected to a Sync Geometry and its layer is on. Run EsSend to resend the scene.
The model is shifted or rotated
Look at more than one QR (two or more orient the model), up close, and check in Rhino that the markers are where you stuck the real QR codes. Try Restart on the anchoring and look at the QR codes again.
The model “drifts” as I walk
It is the headset tracking drift. Look at a QR again to correct and use more markers along the path.
A slider moves and Grasshopper lags
With Breps the recalculation can take ~1 s: convert to meshes before the Sync and simplify the definition.
A piece will not move
In the Sync Geometry, check Move / Rotate / Scale in Interaction. With no checks the piece stays fixed.
I cannot see the real thing behind the model
Use the Wireframe or Edges view. The model is not hidden behind real objects.
I cannot choose 1:10 in the menu
With two or more QR codes (or points by hand) the model is always 1:1. The other scales are for the floor or a table.
If the problem continues, see the questions and answers or write to us with what you saw: [contact email].